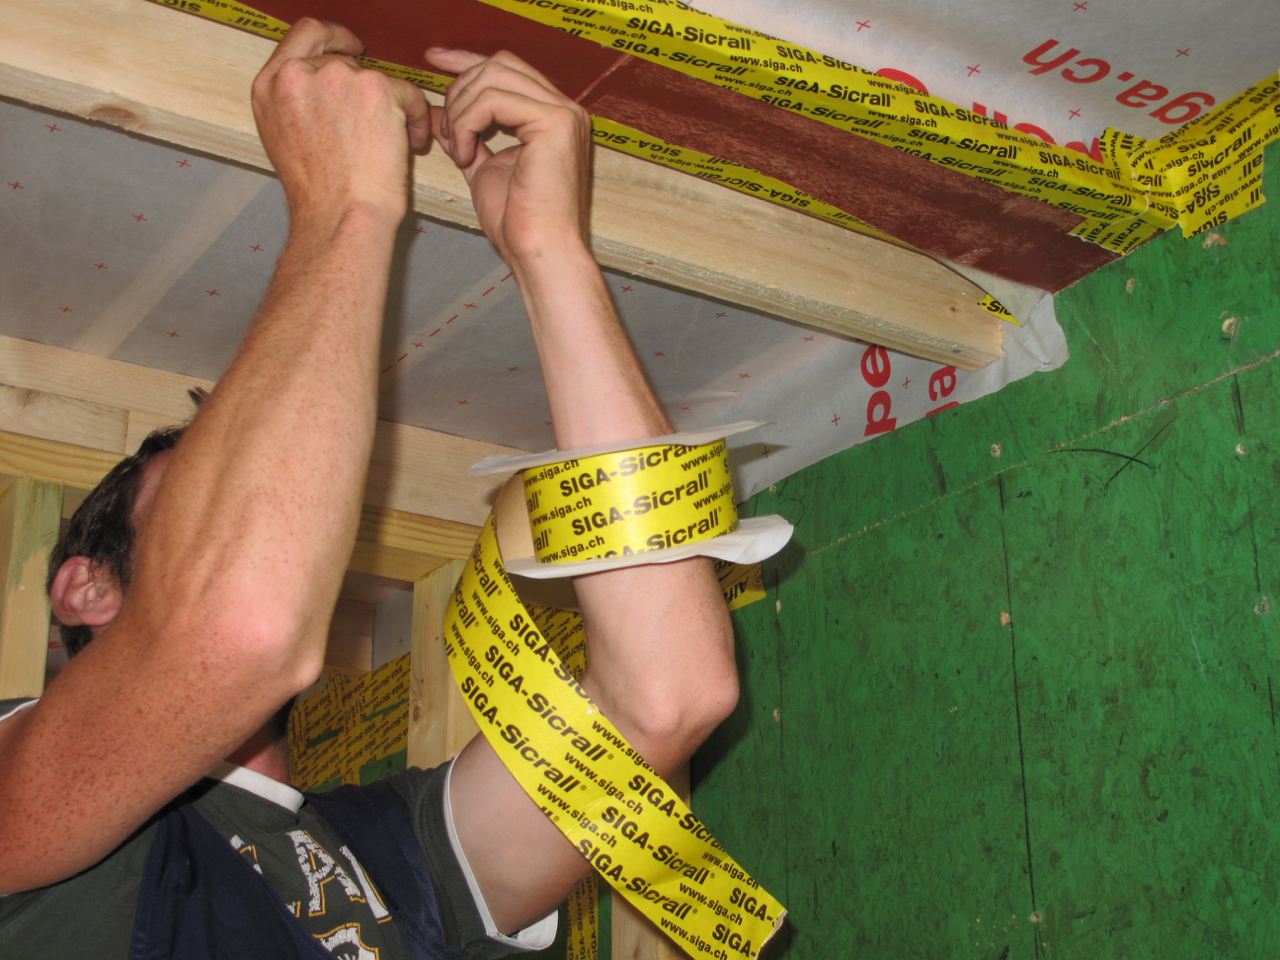
Guide to airtightness and pressure testing produced by the Passivhaus Trust.
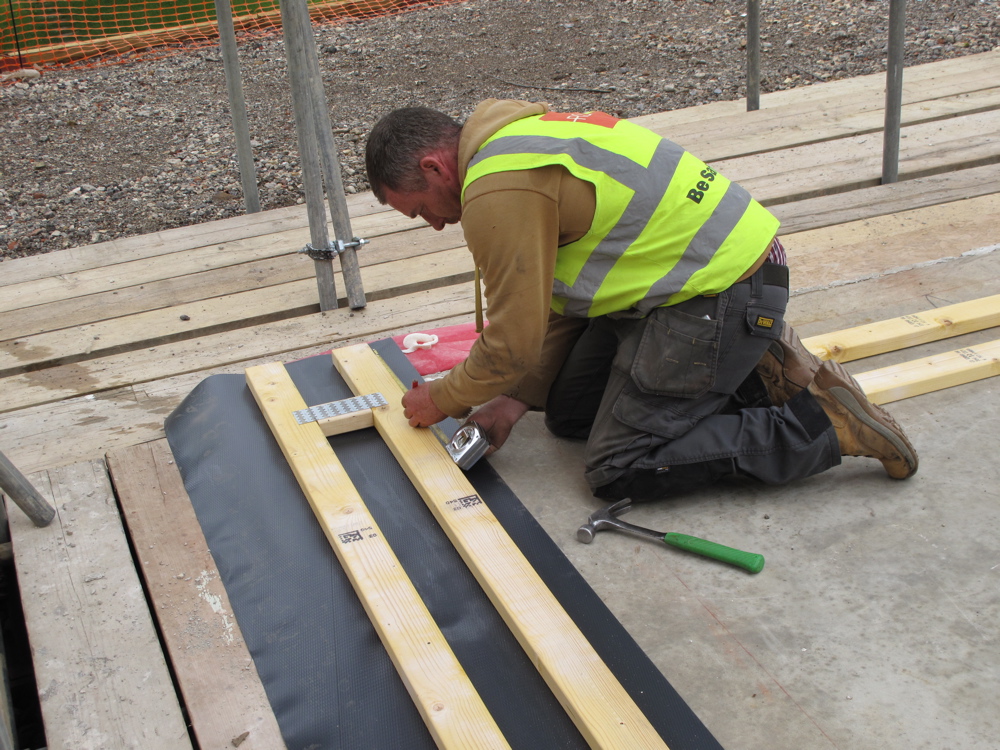
The damp proof membrane is glued down to the slab to ensure there is no air gap. The sole plate is then fixed down to the slab with expanding fixings. After the ground floor panels are put in place the inside edge of the damp membrane is taped to the bottom inside edge of the wall panel to create an airtight seal.
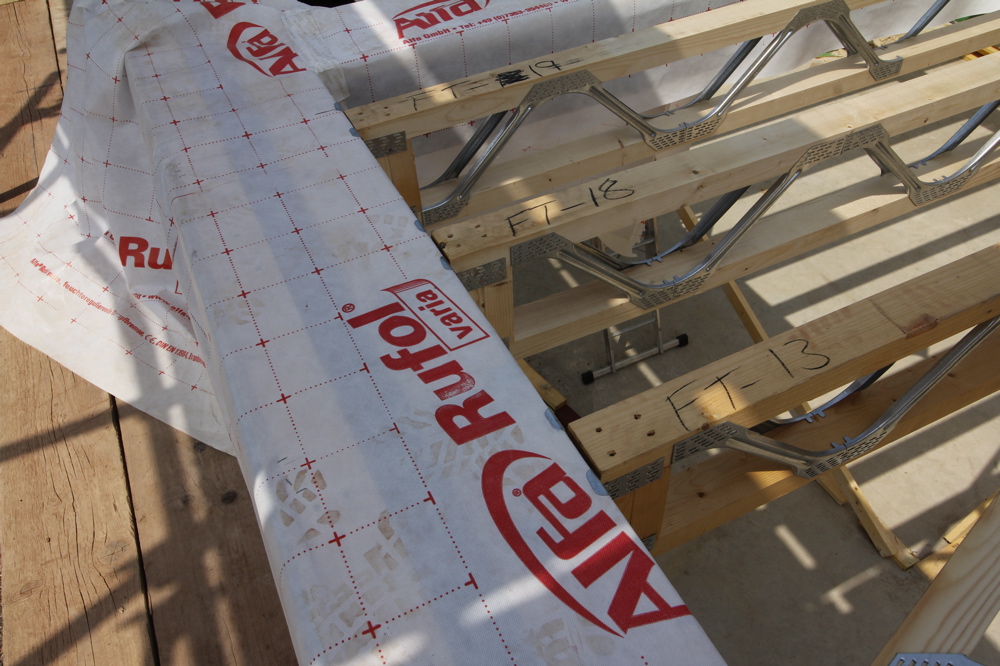
Wrapping airtight membrane membrane over joists before the second floor wall panels are installed. This is then folded back and taped to the inside edge of the second floor wall panel. This avoids having to try and fix an airtight membrane around all of the joists as is normally the case in a timber frame build.
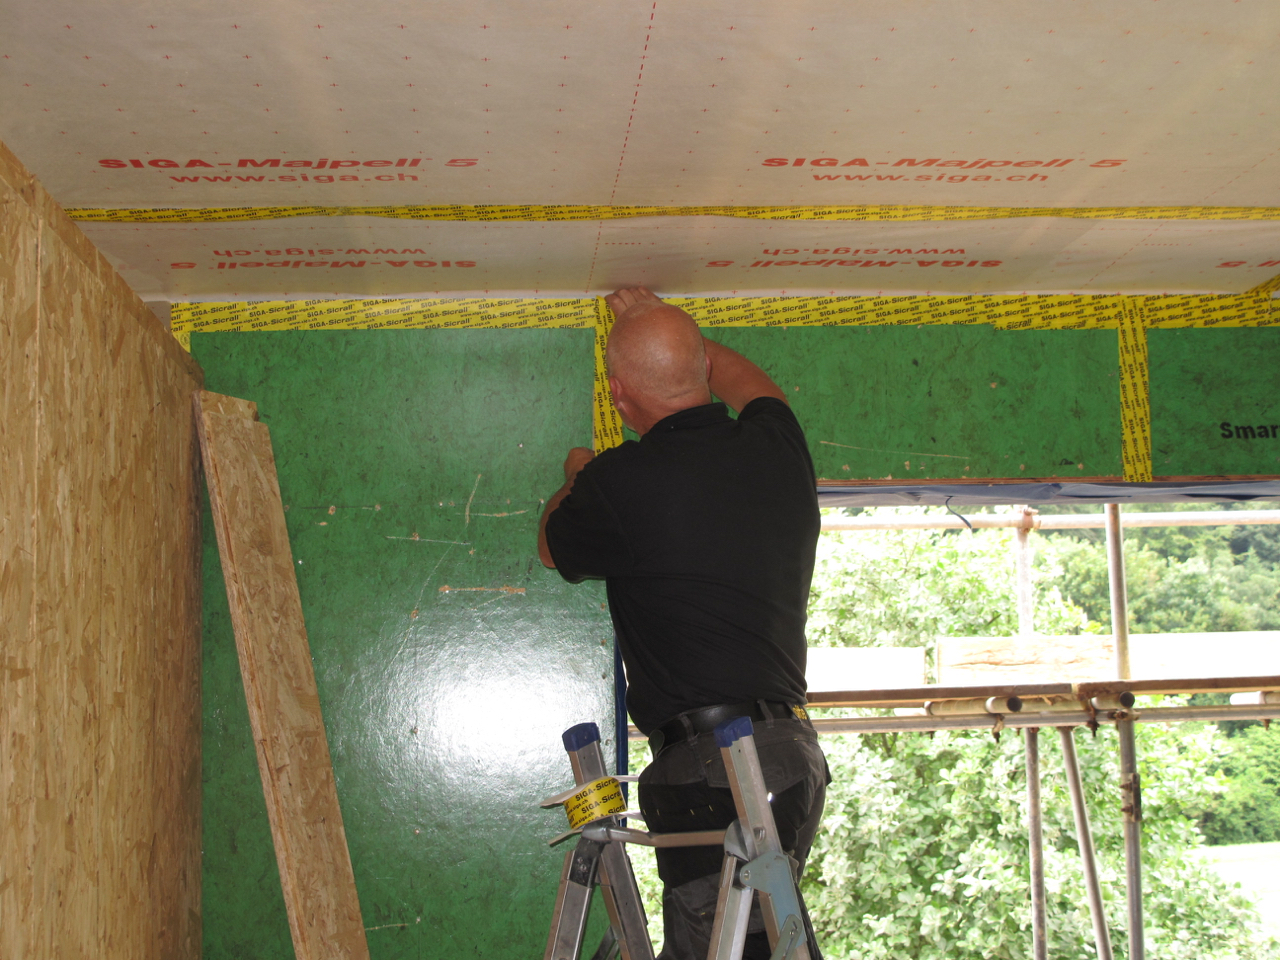
Taping wall panel joints with Siga airtightness tape
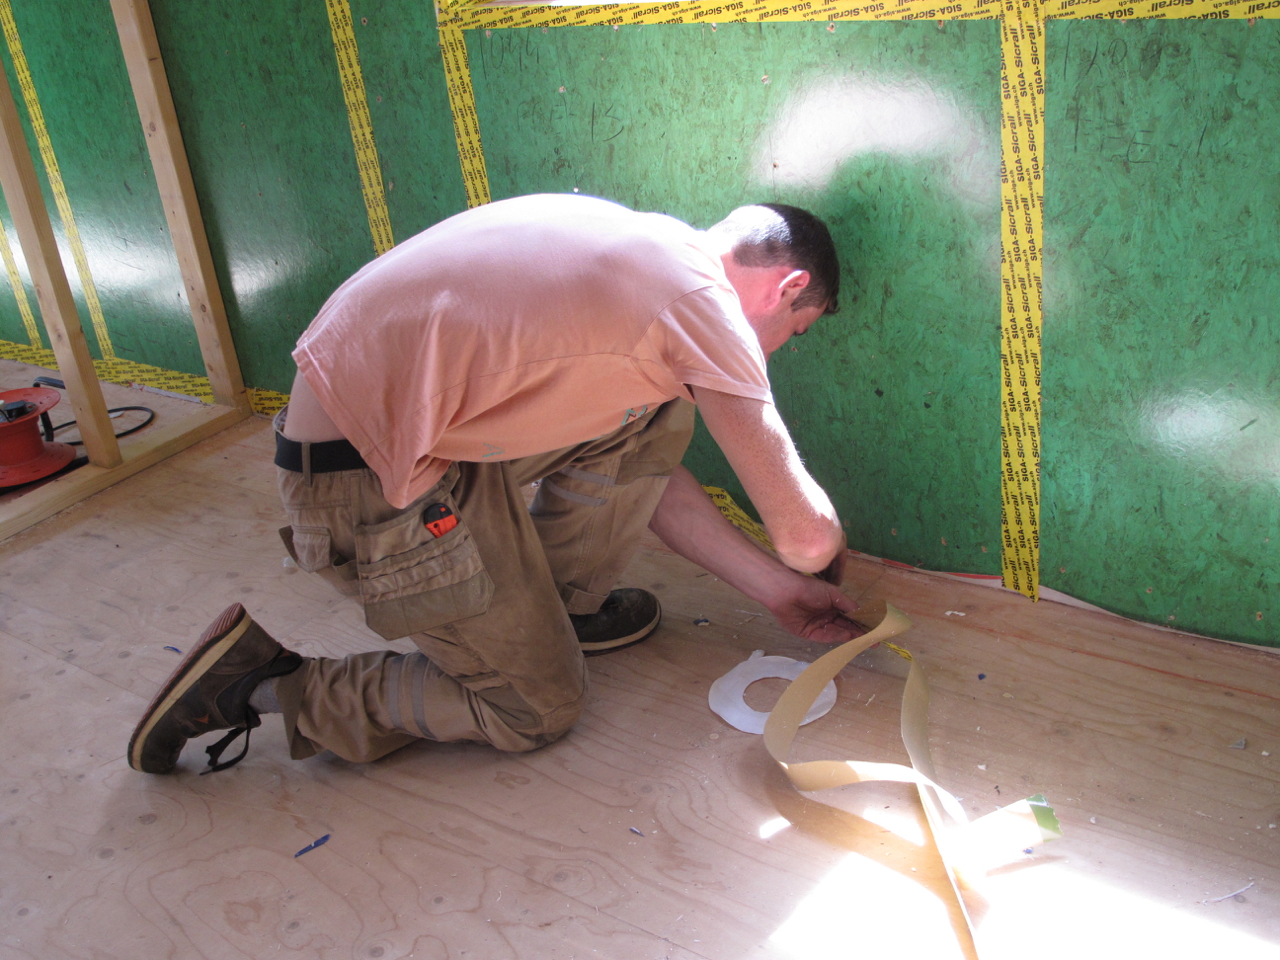
Taping membrane to bottom of wall panel
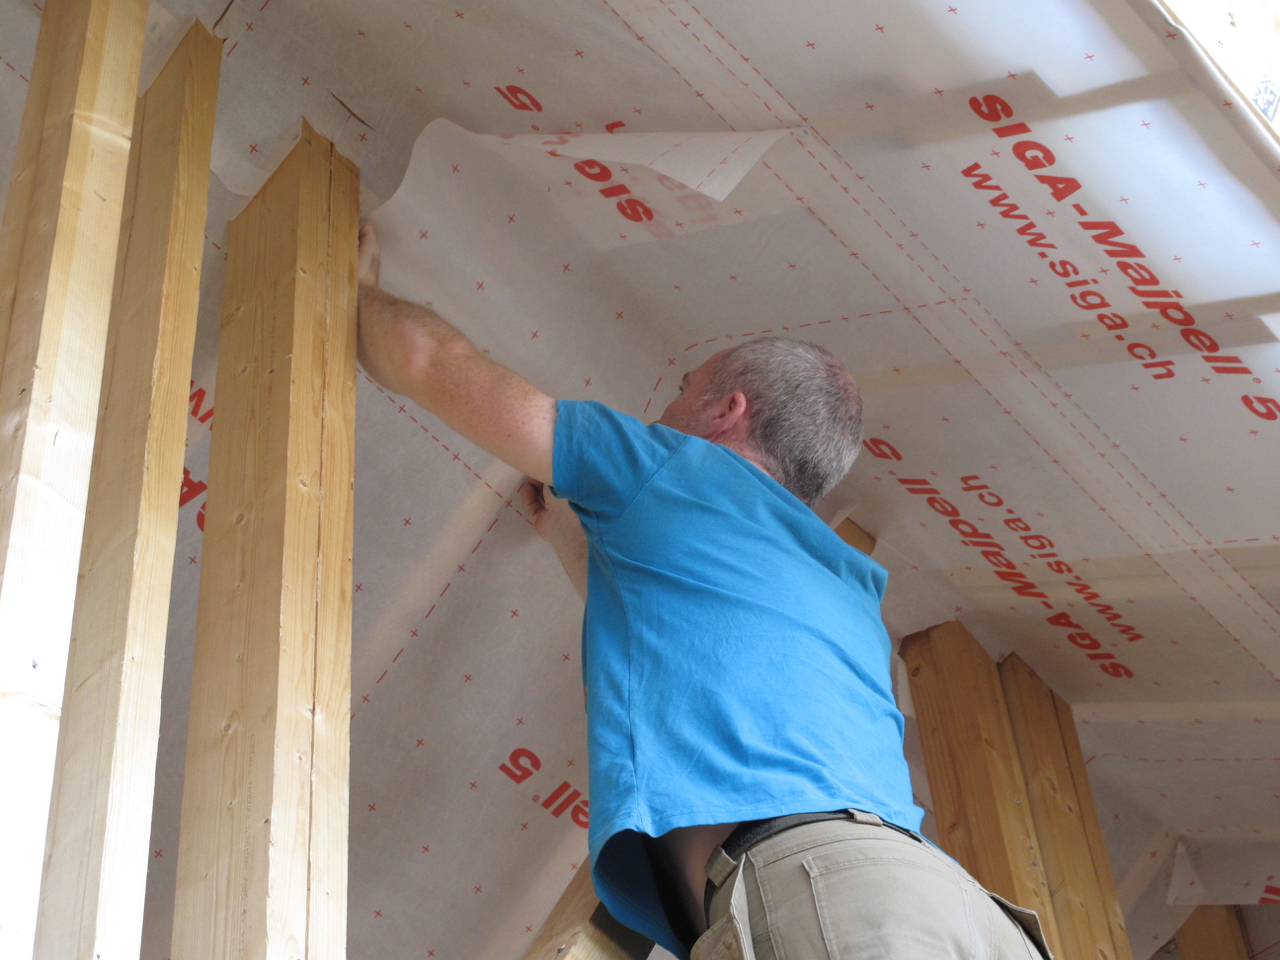
Fixing Siga Majpell vapour control membrane to underside of roof
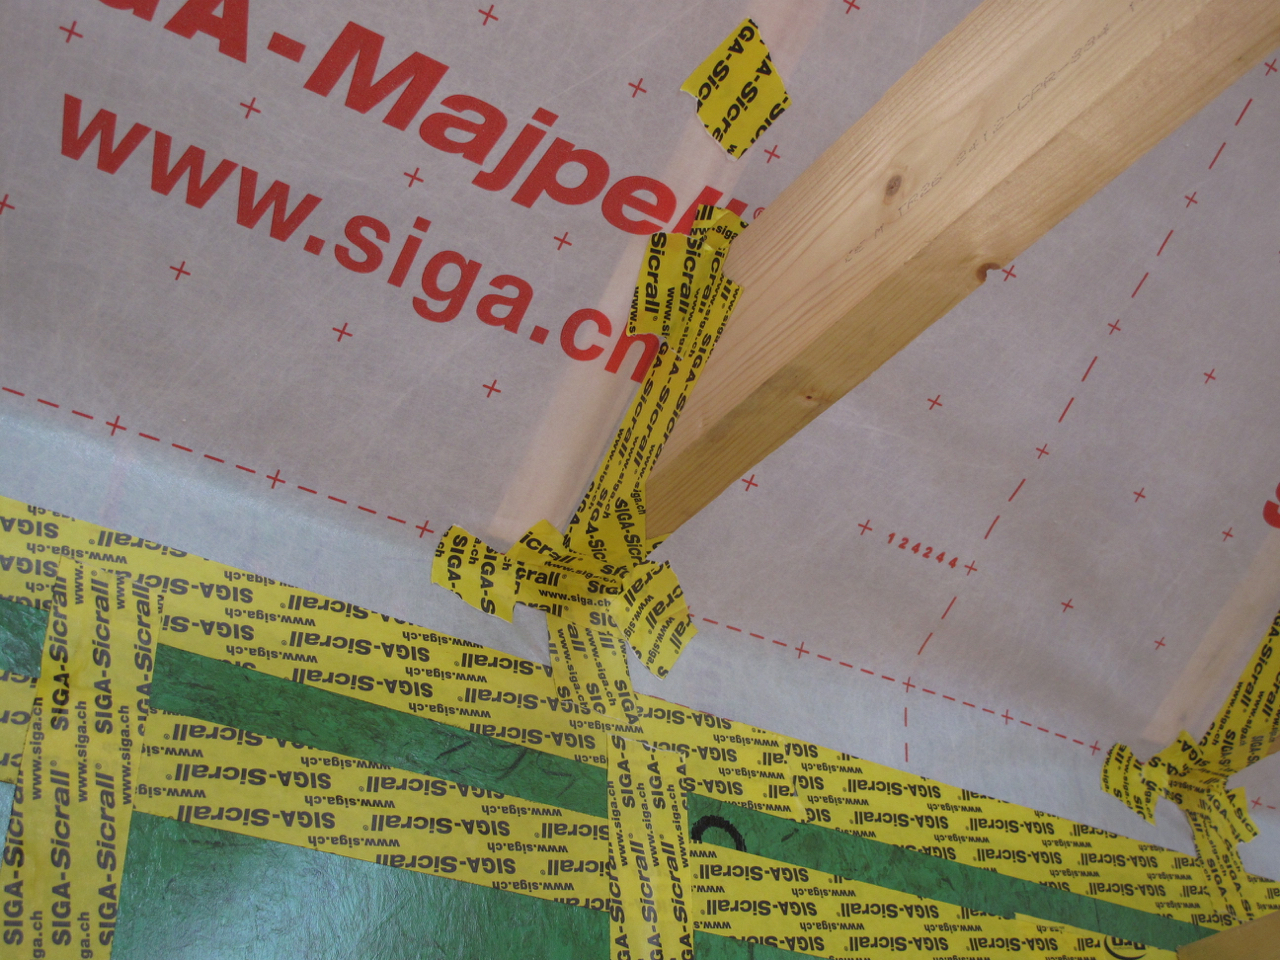
Taping around roof members passing through membrane
Airtightness for windows in a Passive build
In a traditional build a huge amounts of air leakage occurs around windows and doors. These gaps are often just covered with a trim leaving an air gap to the outside behind. Even if these gaps are filled with expanding foam, this tends to get brittle and crack with age, allowing air to leak past. If correct cavity closers are not fitted around the window then air can pass from the cavity in brick or block work around the window.
Sealing windows in a Passive house
In a passive build the windows need to be fitted into a well sized opening. Expanding foam is then used to full fill the gap around the window and then the window is taped on the inside from the frame to the window reveal. I decided to also use an exterior grade tape on the outside of the window taping the front face of the frame to the external membrane around the reveals. Home builders so often will spend a huge amount of money for high specification windows, only to have the installer leave a gap around them allowing free flow of air from the outside to the back of the plasterboard window reveal.

Tape on wall panel to window reveal junction
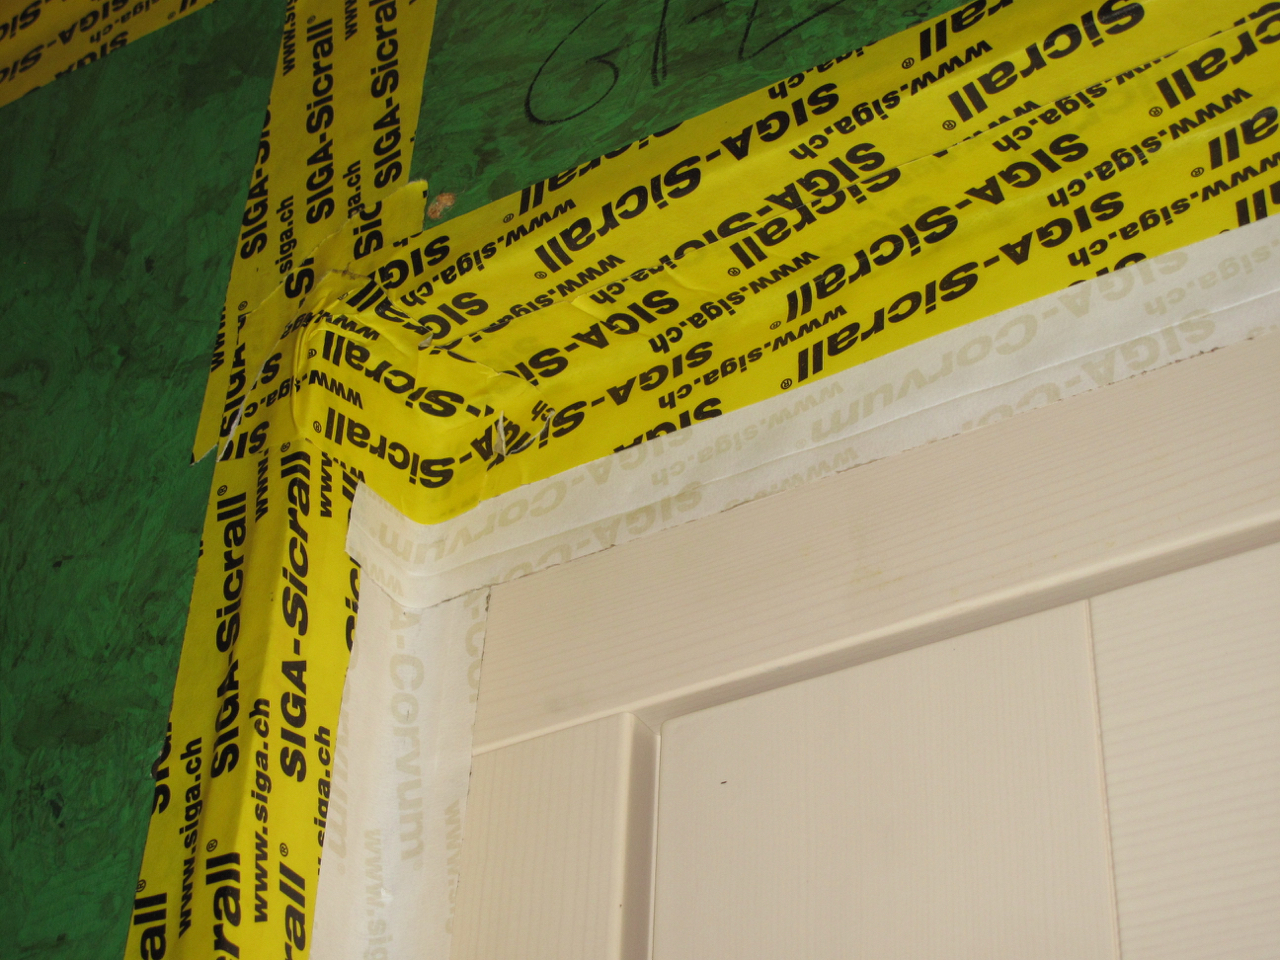
Windows carefully taped back to reveal. These junctions need to be kept neat to allow plasterboard to be fixed square into the reveals. In a traditional build this is an area where huge amounts of leakage occurs as the gaps round the windows are often just covered with a trim leaving an air gap to the outside behind.
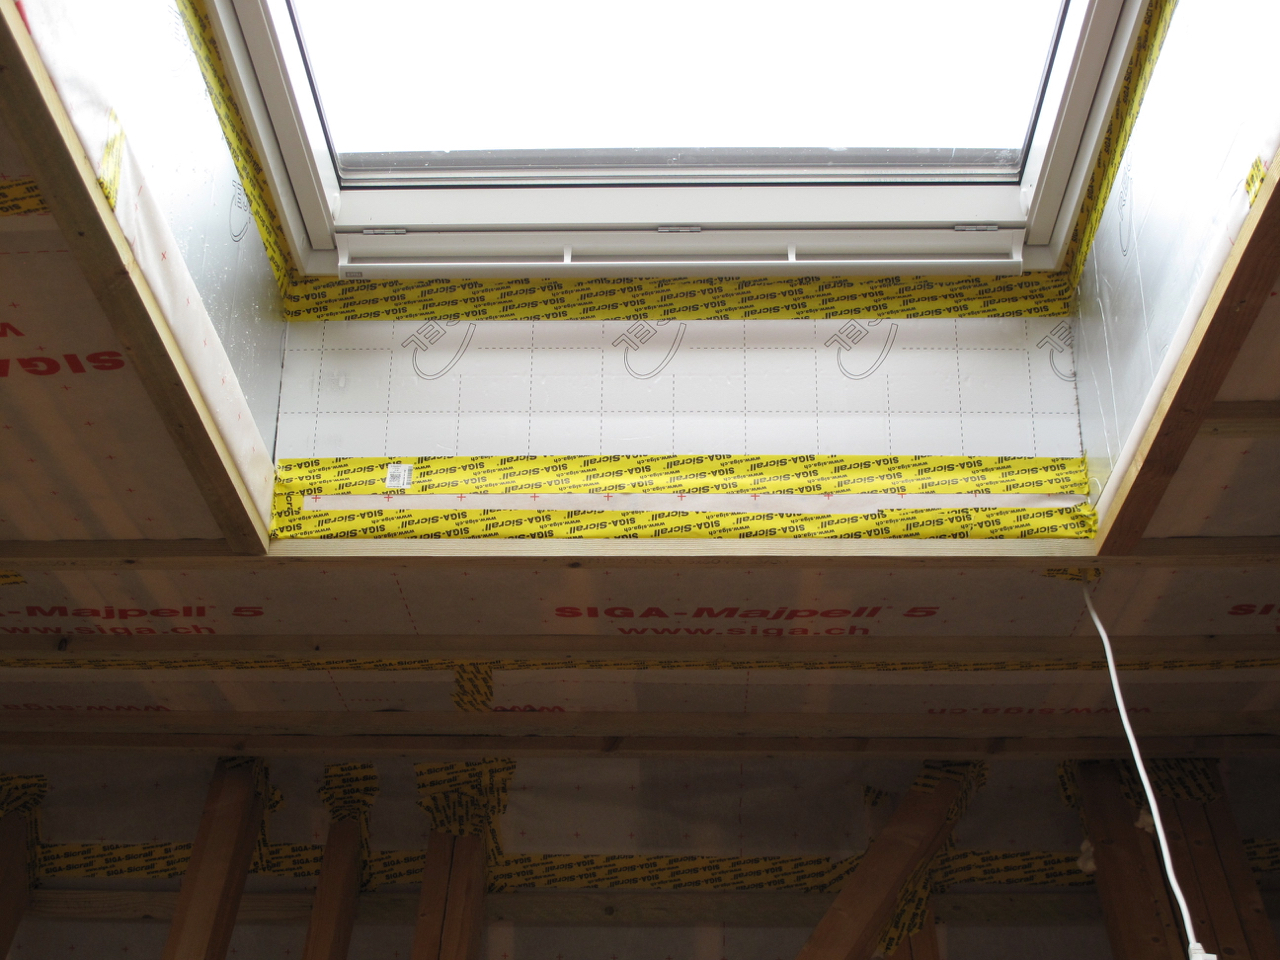
Roof lights taped around perimeter
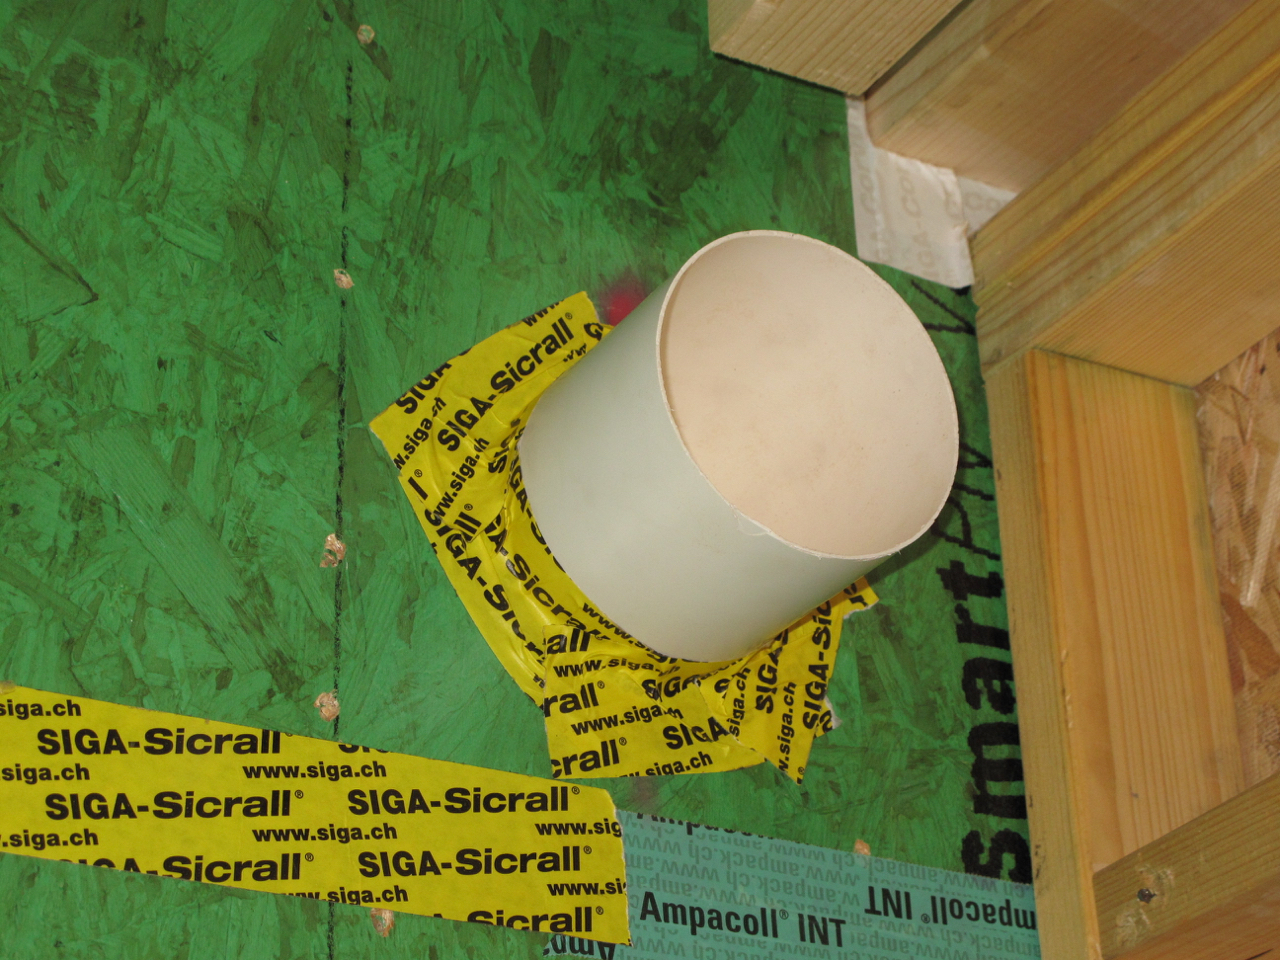
A sleeve to take the boiler flue is sealed on both sides of the wall
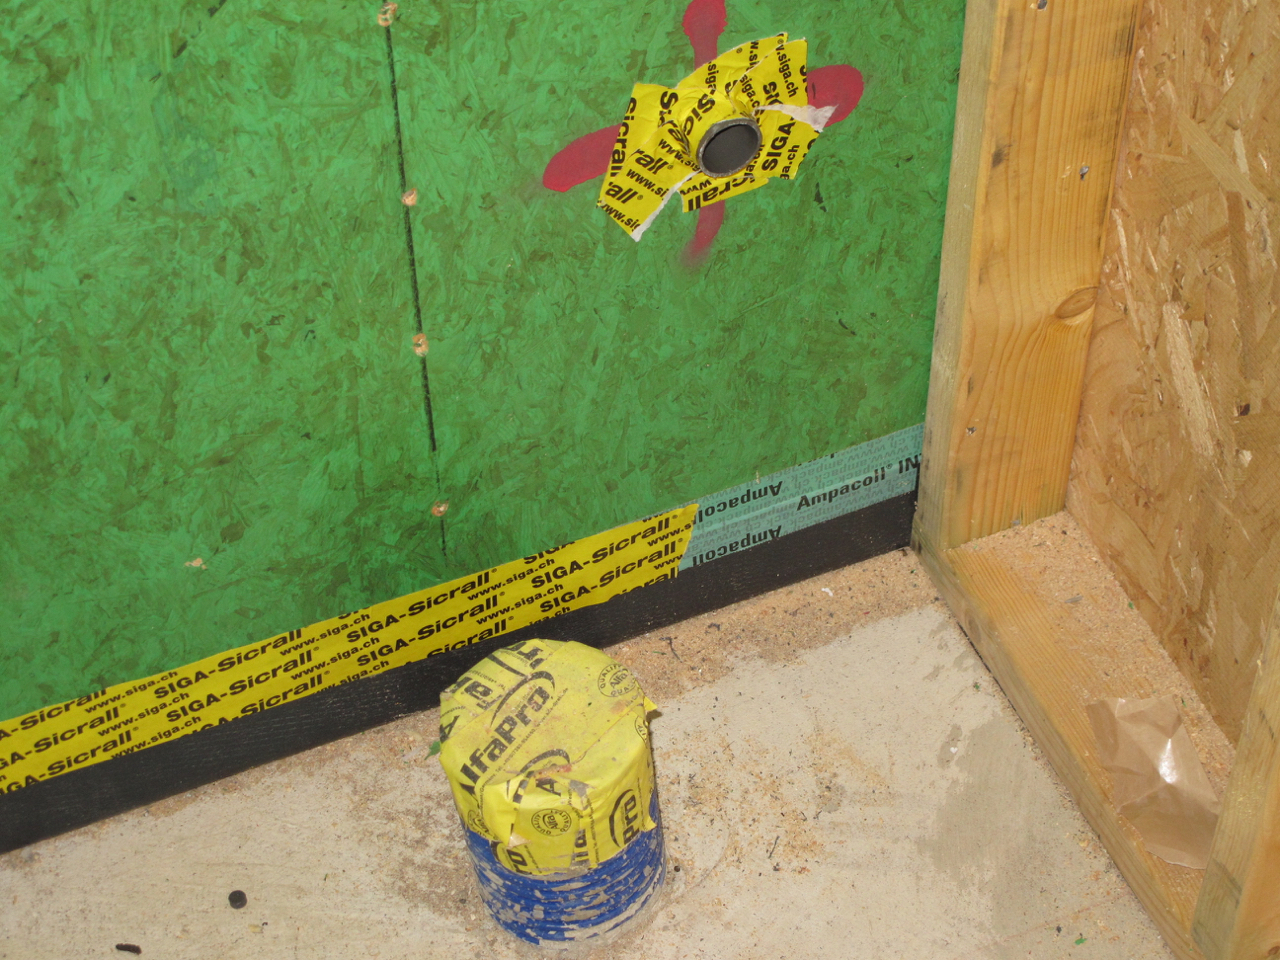
All penetrations through the fabric are carefully sleeved and taped. These are then temporarily blocked for the air test.
Plan building penetrations in advance
In a Passive house it is vital that all penetrations though the wall and slab are considered at the design stage, then have a person on site who is responsible for keeping a very close eye on all following trades and quality of workmanship. In a traditional build the plumber and electrician normally expect to drill holes all over the place to pass cables and pipes through the walls but this is totally unacceptable in a passive house.

