Pouring a Passive Raft foundation
An advantage with a passive raft foundation is that the volume of concrete is kept low compared to traditional footings and raft. This is clearly a benefit from a cost point of view but also the amount of embodied carbon in the build. I would have liked to used a lower carbon concrete for the build but at the time of the pour was not available locally.
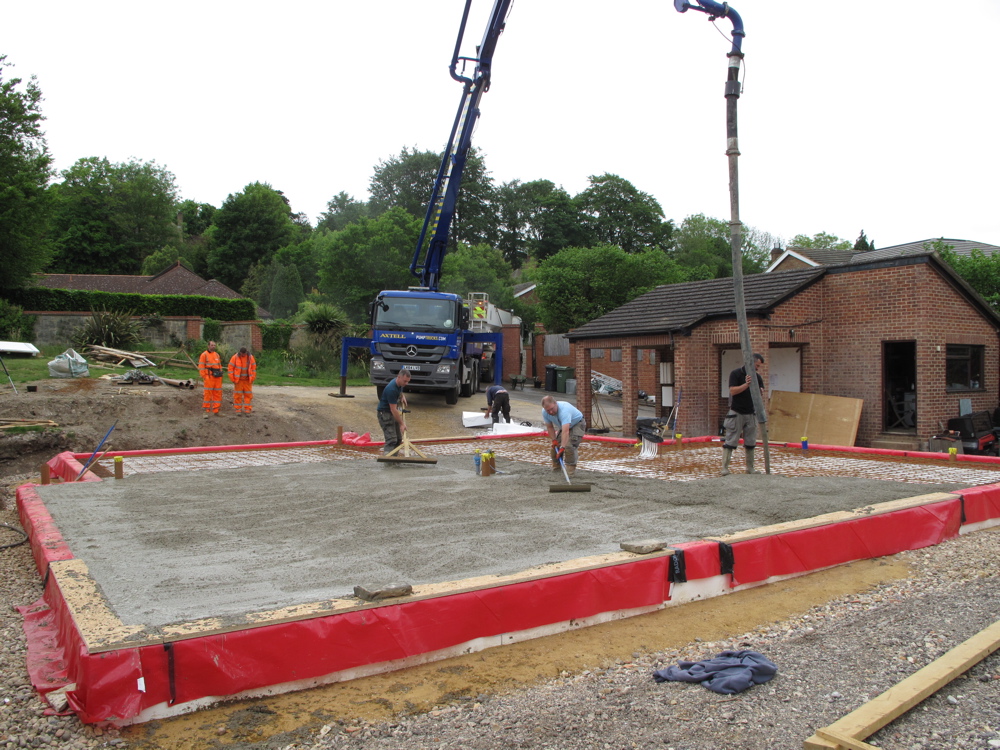
We were very lucky with the weather on the day of the pour as it was dry and also not too hot. It isn’t impossible to get a pour done in the rain but it definately makes life a lot easier and the finish is generally better. It only took a couple of truck loads for the total amount of concrete required so there was only a short break during the pour.

Loading the concrete pump

Adjusting the boom to reach the back of the slab

Raking out the concrete to spread it and get it level over the raft.

Vibrating poker to help the concrete flow and fill all gaps

Checking levels

Tamping down concrete

Floating the slab

Shower tray former to form the walk in shower area and channel for drainage.

Power floating the slab

Finished raft ready for scaffolding and timber frame. Slab was finished to a tolerance of +-5mm which made it very easy to build the timber frame up off an accurate base.
HI we are looking at a small scale version of your base, can you tell be what thickness of concrete you put on top of the UFH pepes ? We built a Log House 9 years ago but the base was a concrete slab, UFH insulation on top (with pipes) then a slef levelling screed 60mm thick. We are building a new SIPS house but looking at similar founds to yours but just wondering about thickneses
thanks